Integrating Gamera on a Wordpress Site
Backup your wordpress
If you are not accustomed to modifying wordpress theme code, the very first thing you should do is back up WordPress. In the installation step below you will need to change the wordpress theme code and if you make a mistake it can be difficult to fix without a backup. If however you make a mistake, the backup will restore everything back to normal. You can find out more about various backup methods in the official Wordpress Developer Resources
Install our tracking Code
In this example we will use the popular theme editor plugin to update the active wordpress theme to include the Gamera tracking script. This will ensure that our script loads successfully throughout your site.
Install the wordpress theme editor plugin within your Wordpress Admin panel
From the Wordpress Admin Panel select
Appearance > Theme Code EditorFrom the theme editor select the
header.phpfile from the Theme Files menuAdd the tracking code below directly below the
<head>tag inheader.phpBefore proceeding to the last step, your
header.phpfile should look something like the image below:
Click
Update Fileto save your changes
Custom Domain Tracking Code
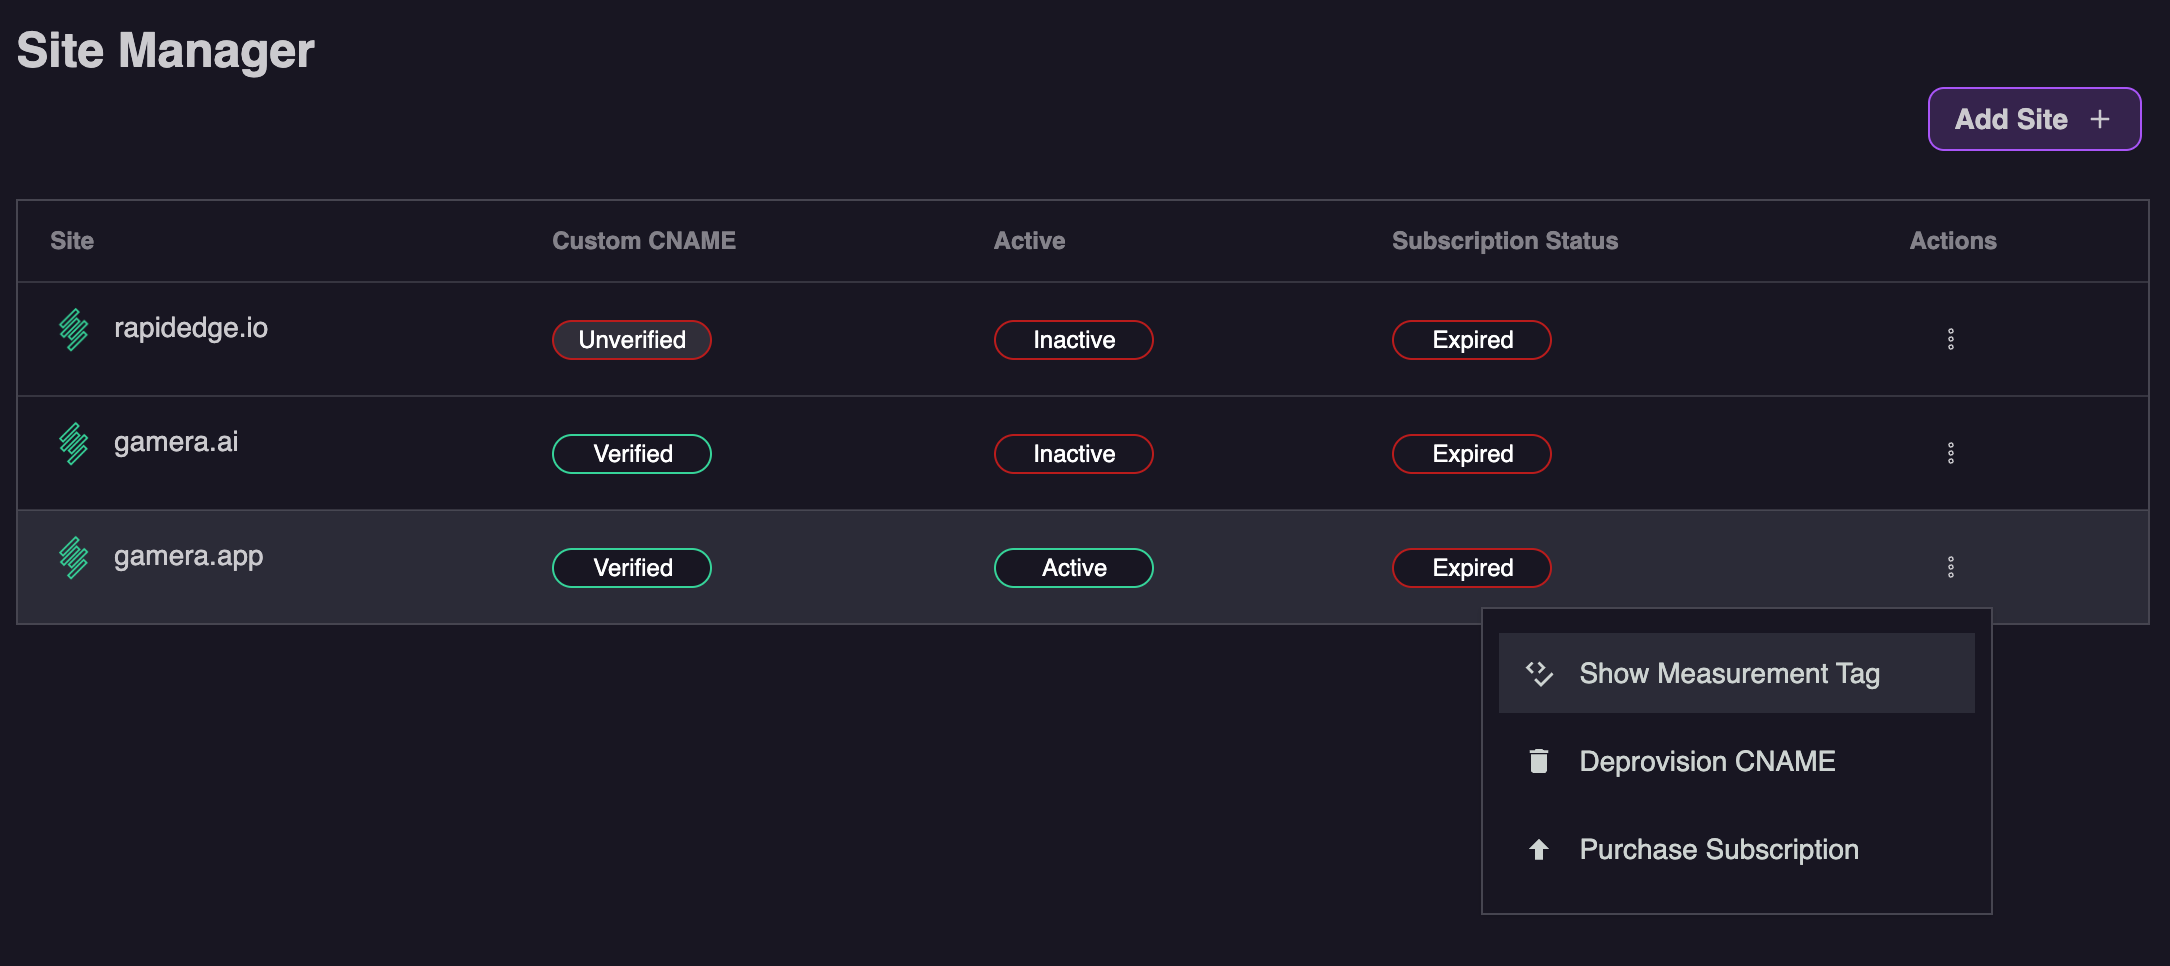
If you are using a custom domain, you can find the correct tracking code in the Gamera Site Manager. Simply select the Show Measurement Tag option from the action menu 
Gamera Hosted Tracking Code
If you are not using a custom domain, you can use the tracking code below. Note please ensure your replace mysite.com with the domain name of your site
<script id="__gamera__" src="https://metrics.rapidedge.io/gamera.js?domain=mysite.com" async></script>IMPORTANT
Be sure to replace mysite.com in the example above with the proper domain of the site you will be tracking
How to check if the integration is working
After about 10 minutes we should start to see data from your site. As soon as we see data you will see the site status turn to Active in the Site Manager section of the Gamera portal as shown below:

